Get started with the Mailroom module
Last updated: October 1, 2026
The Mailroom module lets housing staff track and manage incoming mail and package deliveries for residents. Staff scan or log items through the Mailroom operations interface, and students receive automatic notifications when mail arrives. You can configure multiple mailrooms, set pickup requirements, and monitor item status from check-in through collection.
This guide walks you through the initial setup—from enabling the feature to checking in your first item. It covers both the admin configuration and the staff workflow.
The Mailroom module is also referred to as Mail in the resident portal. For a complete list of resident-facing features, see the📄 Resident Portal Feature Checklist. For a broader overview of admin portal capabilities, see the📄 Admin Portal Feature Overview and Onboarding Checklist.
Before you start
Your institution must have purchased the MAILROOM module, and your admin account must have permission to access the Mailroom settings.
Confirm the MAILROOM module is enabled for your institution
Verify you have admin access to Setup and the Mailroom section
Decide whether you need one mailroom or multiple storage locations
Configure mailroom settings
In Admin › Mailroom, open the Configuration tab to set the rules that govern how items are released and tracked. These settings apply across all mailrooms at your institution.
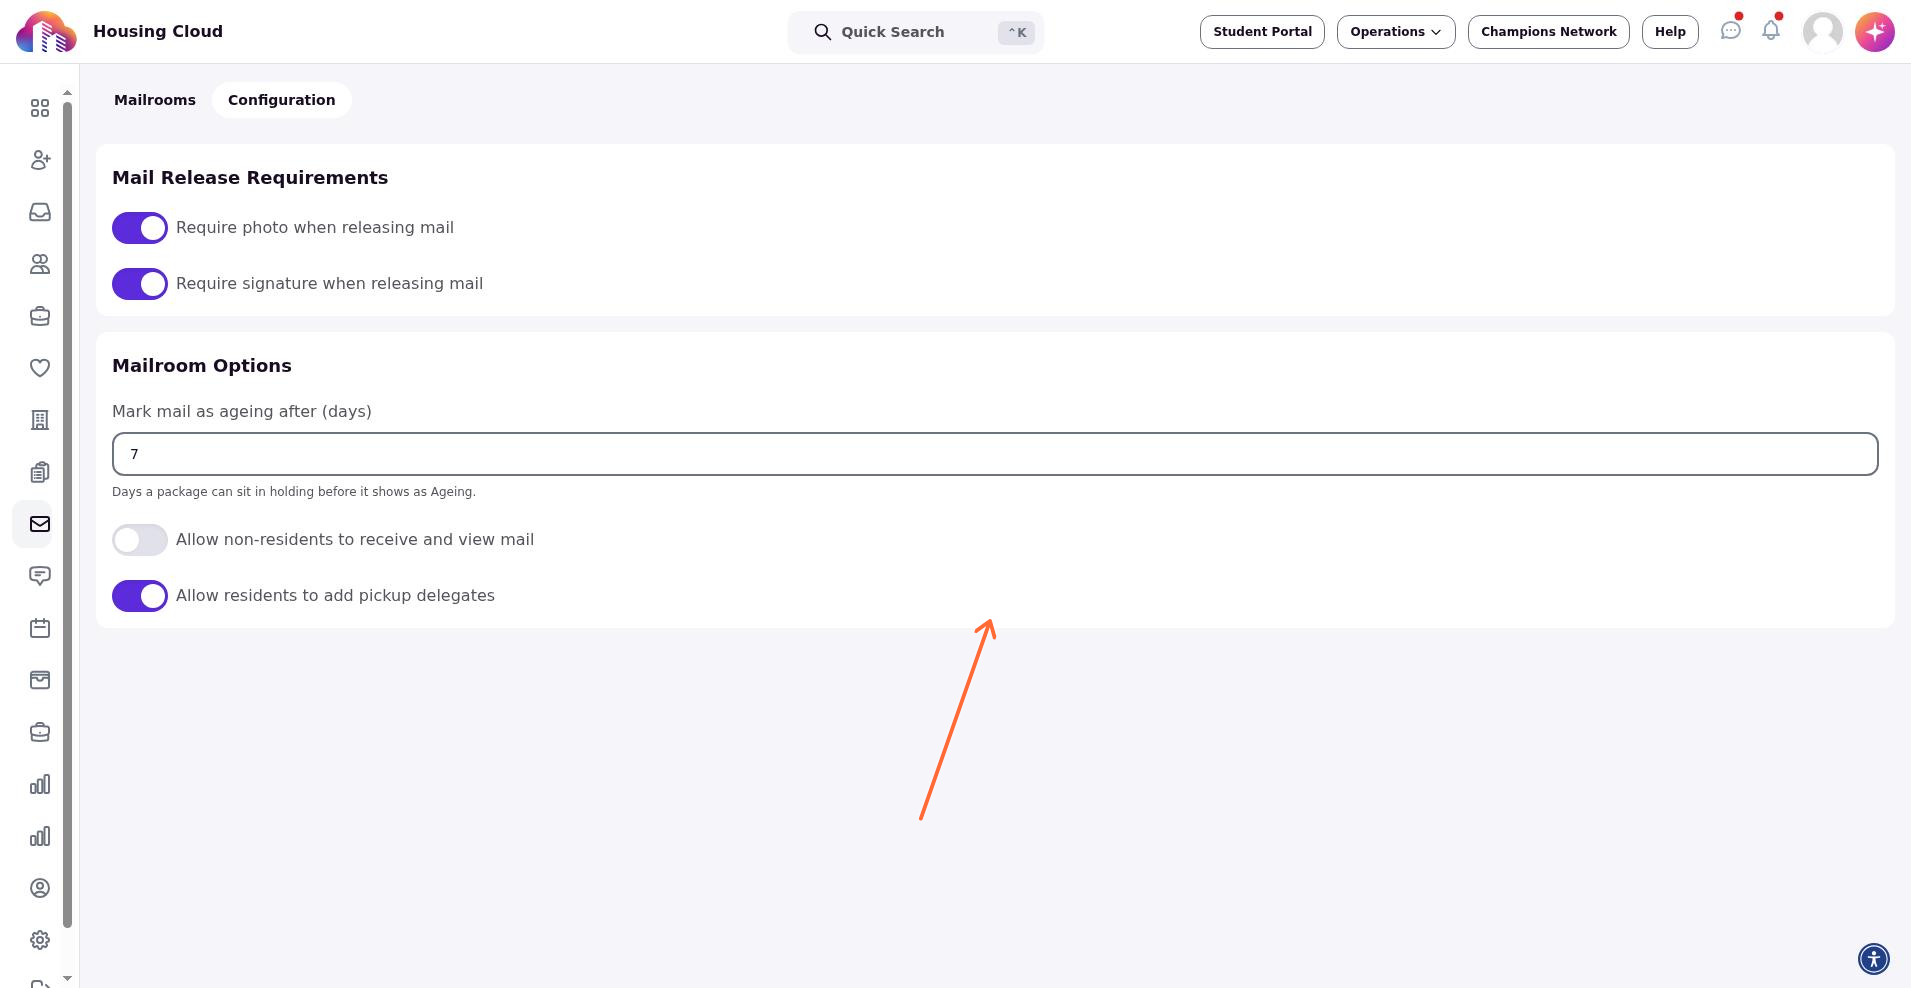
The configuration panel includes the following options:
Require photo when releasing mail — staff must photograph the recipient or item at pickup
Require signature when releasing mail — staff must collect a signature before the item is marked as collected
Allow non-residents to receive and view mail — permits people without active residencies to have items logged in the system
Mark mail as ageing after (days) — sets the number of days an item can sit in holding before it is flagged as ageing. The helper text reads: “Days a package can sit in holding before it shows as Ageing.”
Allow residents to add pickup delegates — lets residents authorize another person to pick up their mail
Save your changes before creating mailrooms. You can return to this panel at any time to adjust release requirements.
Add your first mailroom
A mailroom represents a physical storage location where items are held. If your institution has multiple receiving desks or buildings, create a mailroom for each location so staff can route items correctly.
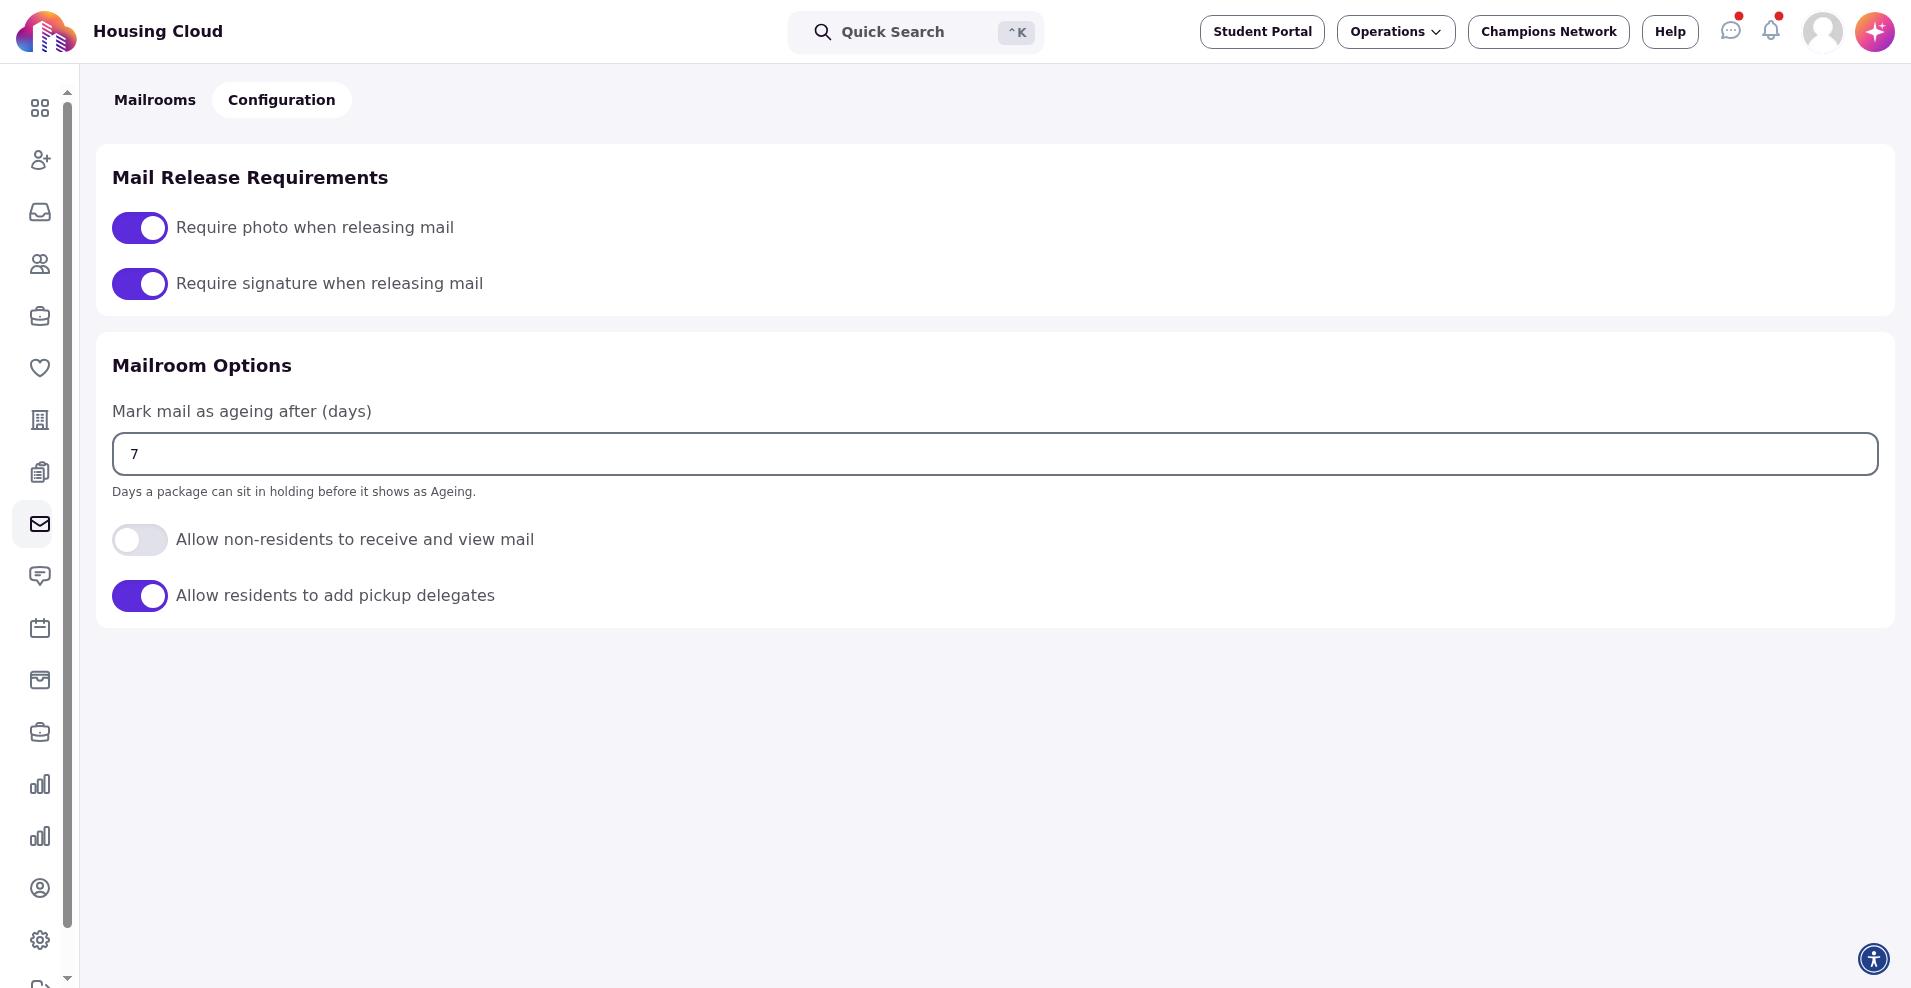
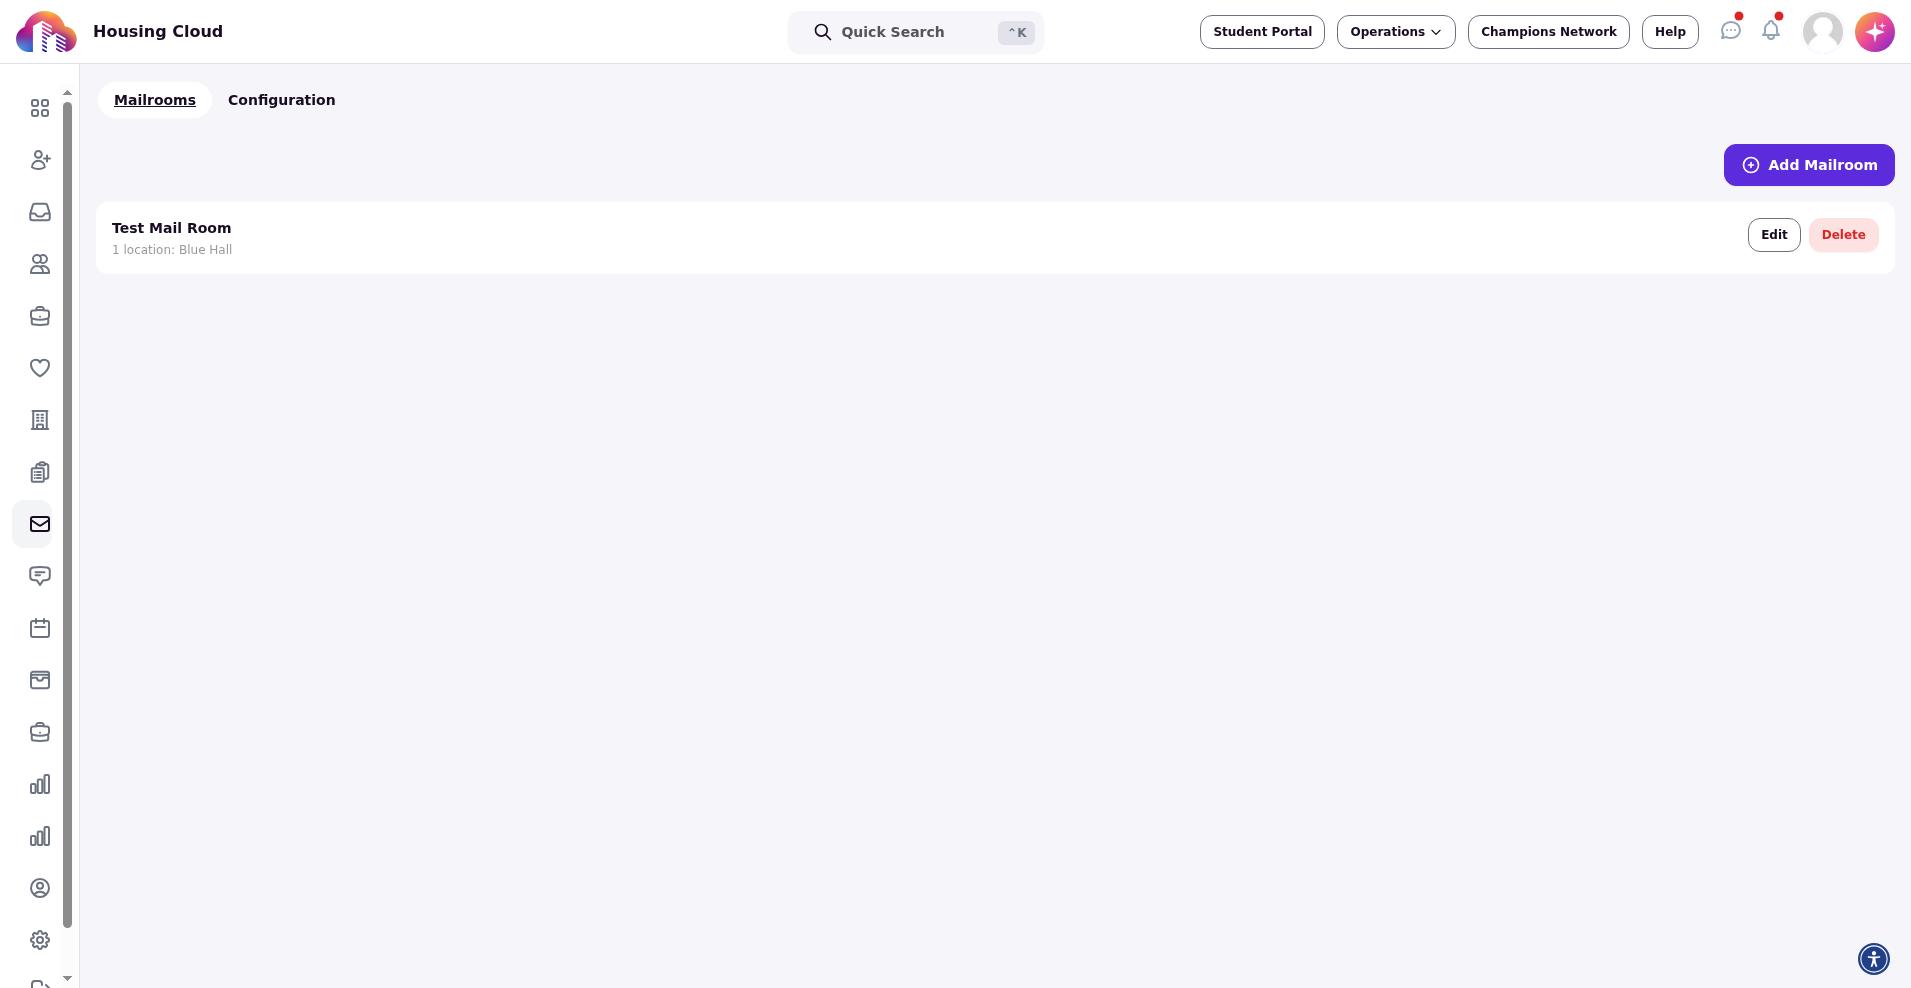
From Admin › Mailroom, click the Mailrooms tab, then click Add Mailroom. The system shows an empty state reading “No mailrooms configured. Add a mailroom to organize package storage locations” until your first location is created. Enter the mailroom name and any details required by your workflow, then save.
After you create at least one mailroom, the staff Mailroom Dashboard becomes active and staff can begin checking in items.
Check in an item
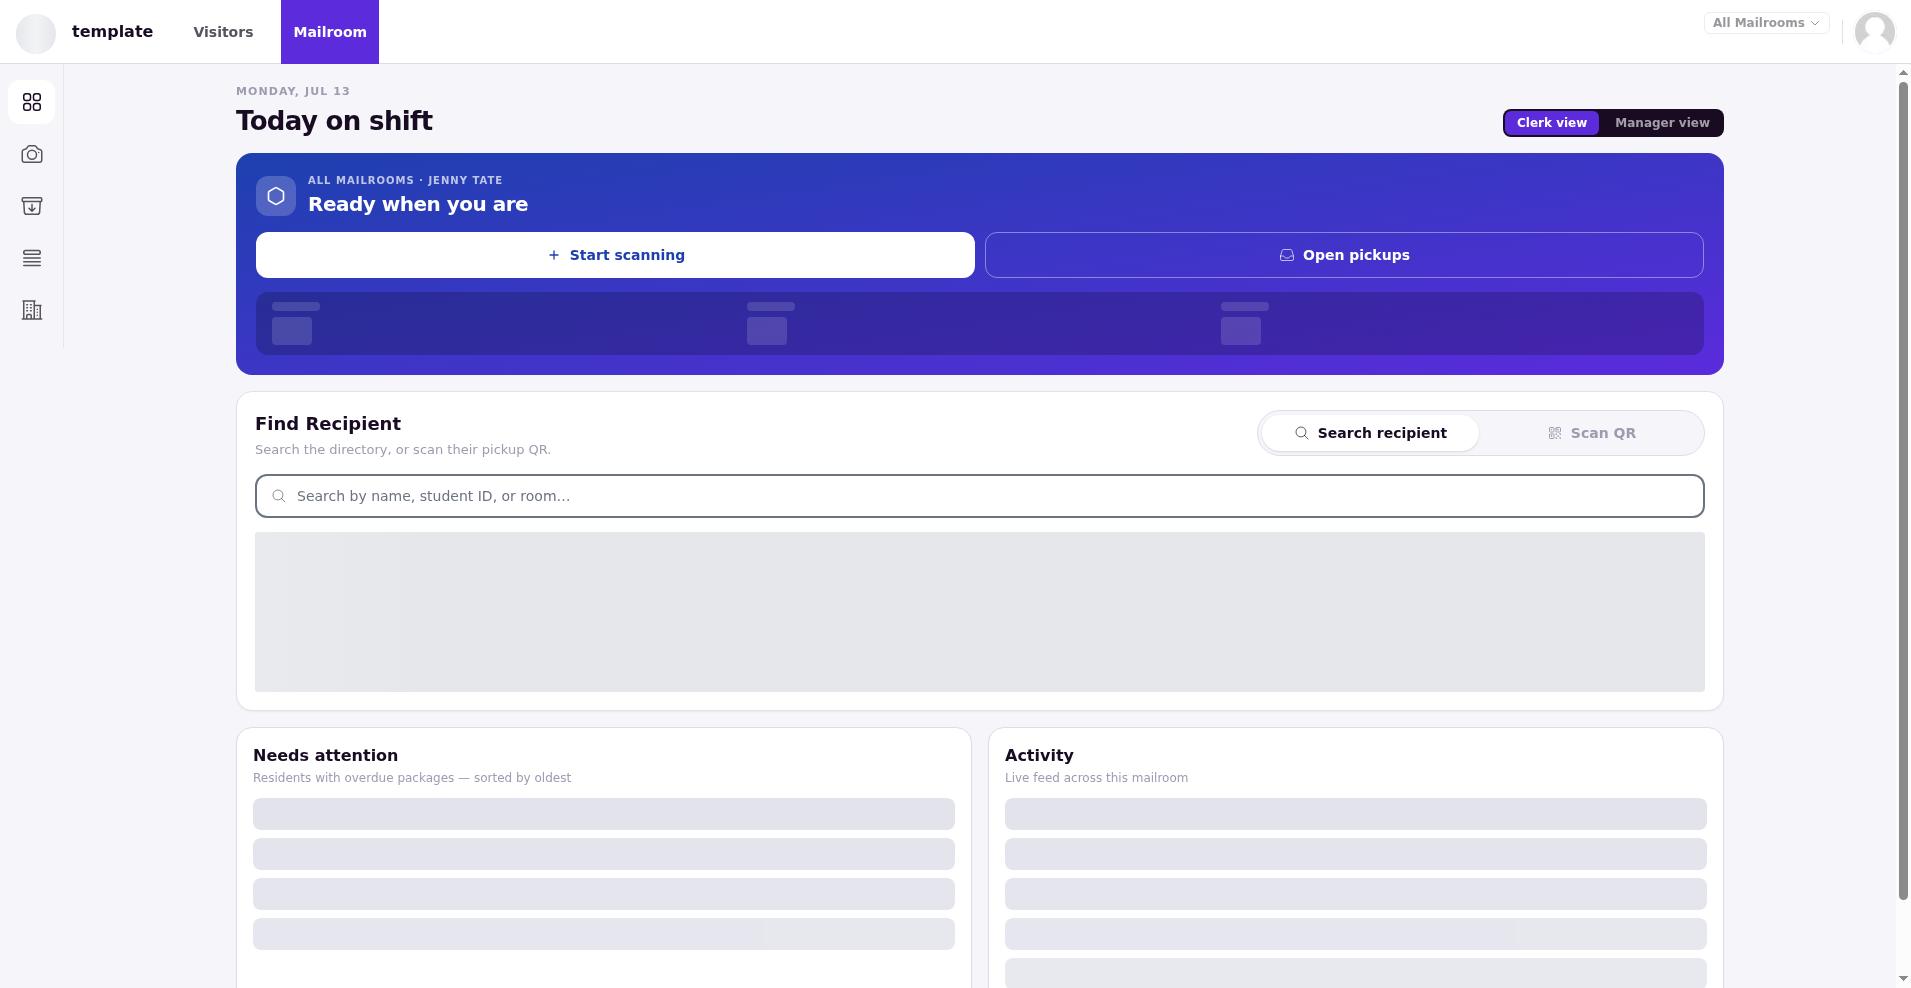
Staff use the operations interface to log incoming items. Go to Ops › Mailroom to open the dashboard.
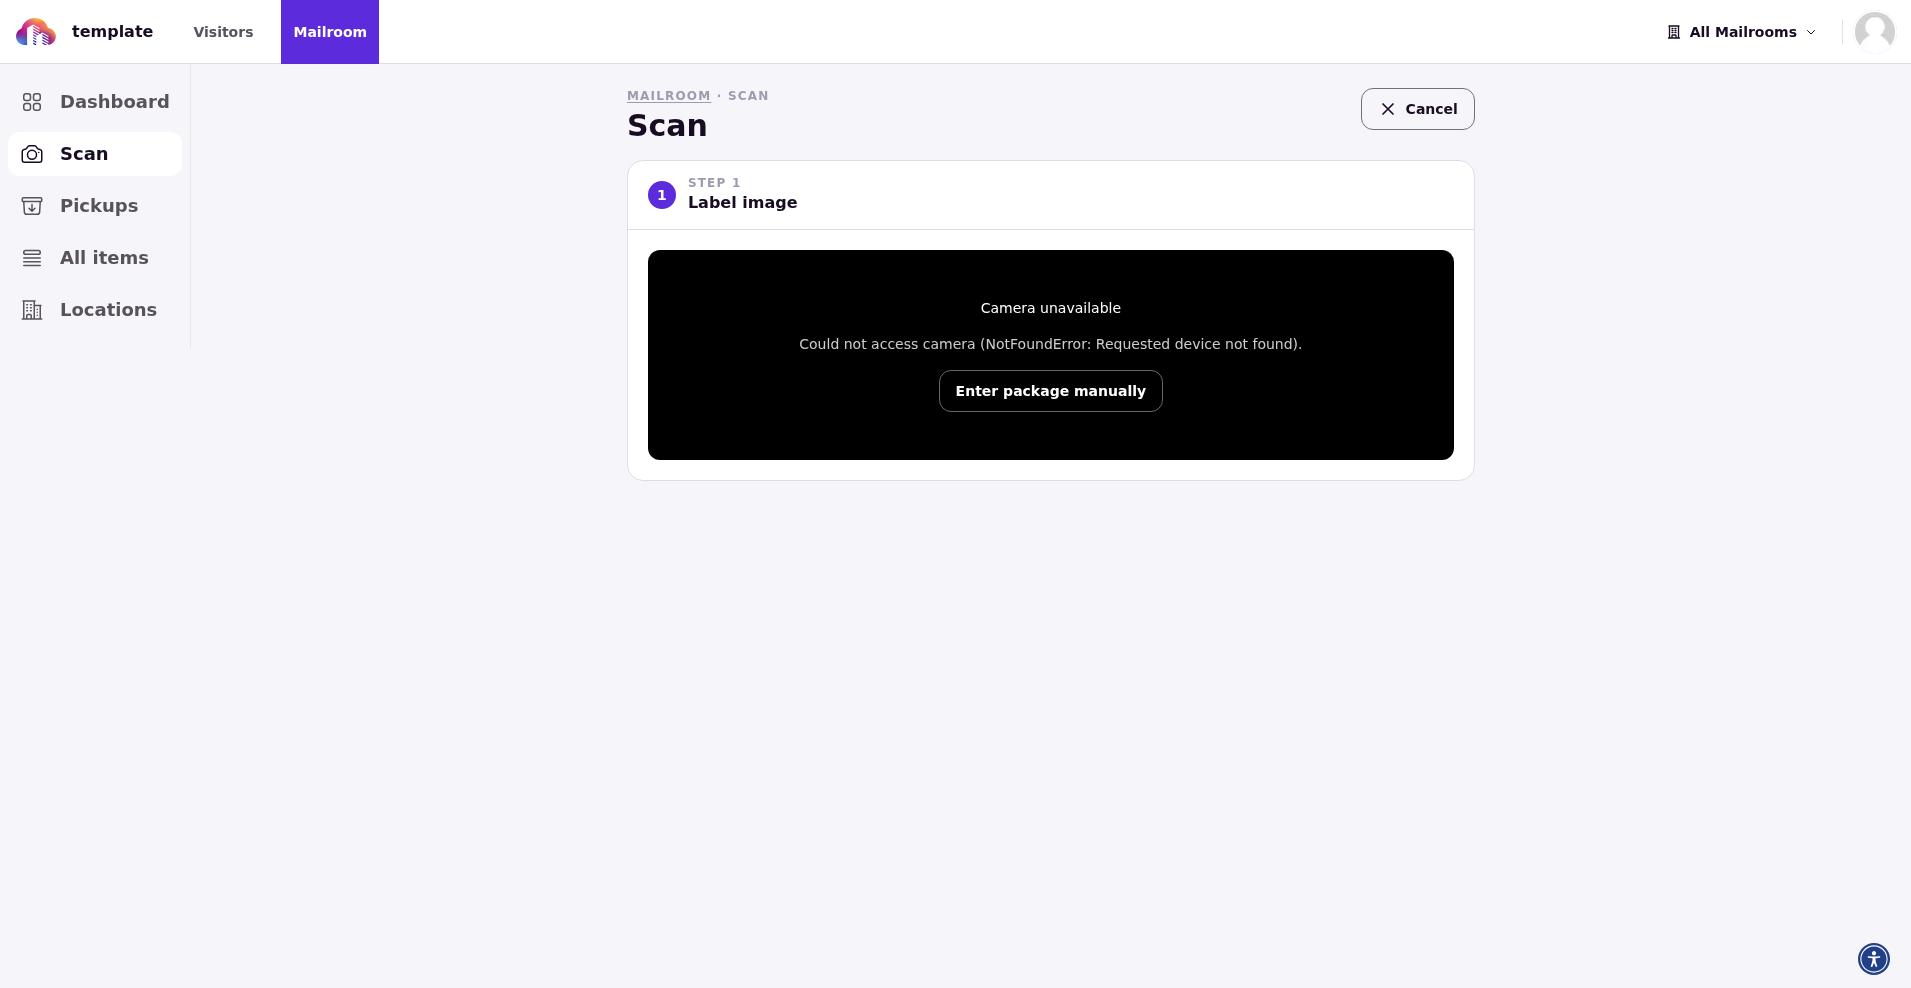
Choose the Scan tab to start the check-in wizard. The wizard guides staff through reading the tracking label and assigning the item to a resident.
During check-in, the staff member can review what the system read from the scan and flag any errors. If a scan is incorrect, staff can select Flag scan for review and enter details in the review modal fields: What we read, What went wrong (optional), What it should have been (optional), and How often (optional). Flagged items help you refine scanning accuracy over time.
Once the item is assigned to a recipient, the system sets the status to Holding and triggers the New Package Arrived notification to the student.
Track and manage mail
The All view at Ops › Mailroom › All shows every item in the system.
Columns include Mail ID, Recipient, Type, Tracking Number, Carrier, Status, Check-In Date, Pickup Date, Picked Up By, Days Waiting, Mailroom, and Storage Location. Use the Search mail field to find items by recipient name or tracking number, and toggle Show picked up to include or hide collected items.
Click any row to open the detail page, where staff can update status, add notes, or mark the item as lost or found.
The system confirms changes with toast messages such as Mail details saved, Mail marked as lost, and Mail marked as found.
What students see
When the MAILROOM feature is enabled, residents see a Mail section in their portal. They can view mail history, see mail images, check status (Holding, Collected, or Cancelled), and filter or search by name or tracking number. Carrier information from USPS, UPS, and FedEx is displayed when available, along with a mail timeline and tracking numbers.
Students also receive the Mail Pickup Reminder notification to prompt collection of items that have been waiting. The Pickups page at /mail/pickups lets them see which items are ready for collection.
Where to go next
After you have configured your mailrooms and checked in your first item, review the following resources:
📄 Admin Portal Feature Overview and Onboarding Checklist— for a full map of admin features and permissions
📄 Resident Portal Feature Checklist— for the complete list of student-facing mail tools and notification types
📄 Housing.Cloud Glossary & Style Guide— for terminology definitions, including Mailroom and Mail
Train your front-desk staff on the check-in wizard and the flag-for-review workflow so they can handle misread labels and edge cases confidently.